How to edit STL files: A practical guide for makers
You downloaded a model, but it's not quite right - a hole in the wrong spot, a name you want to emboss, a piece that won't fit your printer bed. The good news: STL files can absolutely be edited, often with free tools you already have. The key is matching the tool to the edit - using a full CAD suite to resize a model is overkill, and trying to redesign a bracket in a browser toy is torture. Here's how to pick the right approach for the change you actually need.
First, understand what you're editing
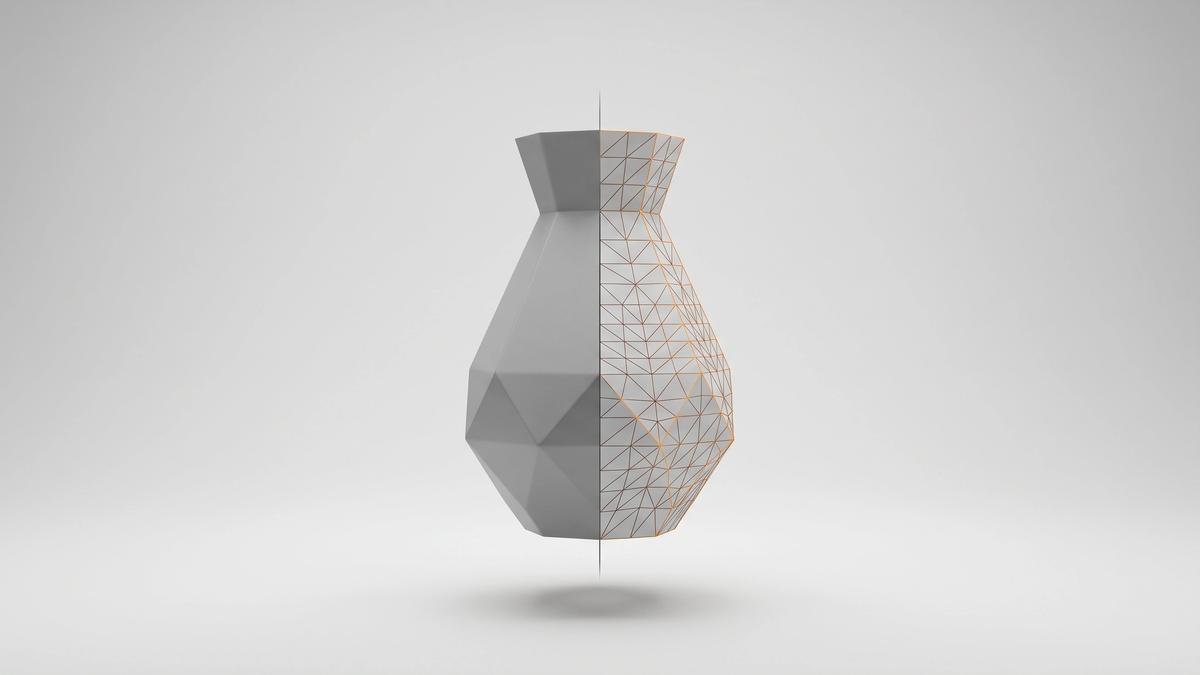
An STL file stores a model as a mesh of triangles - pure surface geometry, nothing else.
This matters for editing because a mesh is fundamentally different from a native CAD file. A CAD file remembers how the model was built: sketches, dimensions, a feature tree you can step back through and adjust. An STL remembers none of that. There's no "hole feature" you can resize - just thousands of triangles that happen to form a hole-shaped surface.
So editing an STL means one of two things: manipulating the triangles directly (mesh editing), or converting the mesh into a solid body first and then working on it with proper CAD tools. Which route to take depends entirely on what you're changing.
Match the tool to the edit
Before opening any software, decide what kind of change you need. This one table saves more frustration than any tutorial:
| What you want to do | Where to do it | Effort |
|---|---|---|
| Scale, rotate, mirror, cut into parts | Your slicer | Minutes |
| Combine models, add text, punch holes, basic reshaping | Tinkercad | Easy |
| Sculpt organic shapes, heavy mesh surgery | Blender (or Meshmixer) | Steeper learning curve |
| Precise dimensional changes to functional parts | Fusion 360 / FreeCAD (convert mesh to solid) | Most involved |
The rest of this guide walks through each level.
Simple edits: Start in your slicer
Here's what beginners consistently overlook: for the most common "edits," you don't need an editor at all. Scaling a model up or down, rotating it, mirroring it, or cutting it into pieces to fit your build plate - these are print-preparation tasks, and every modern slicer handles them.
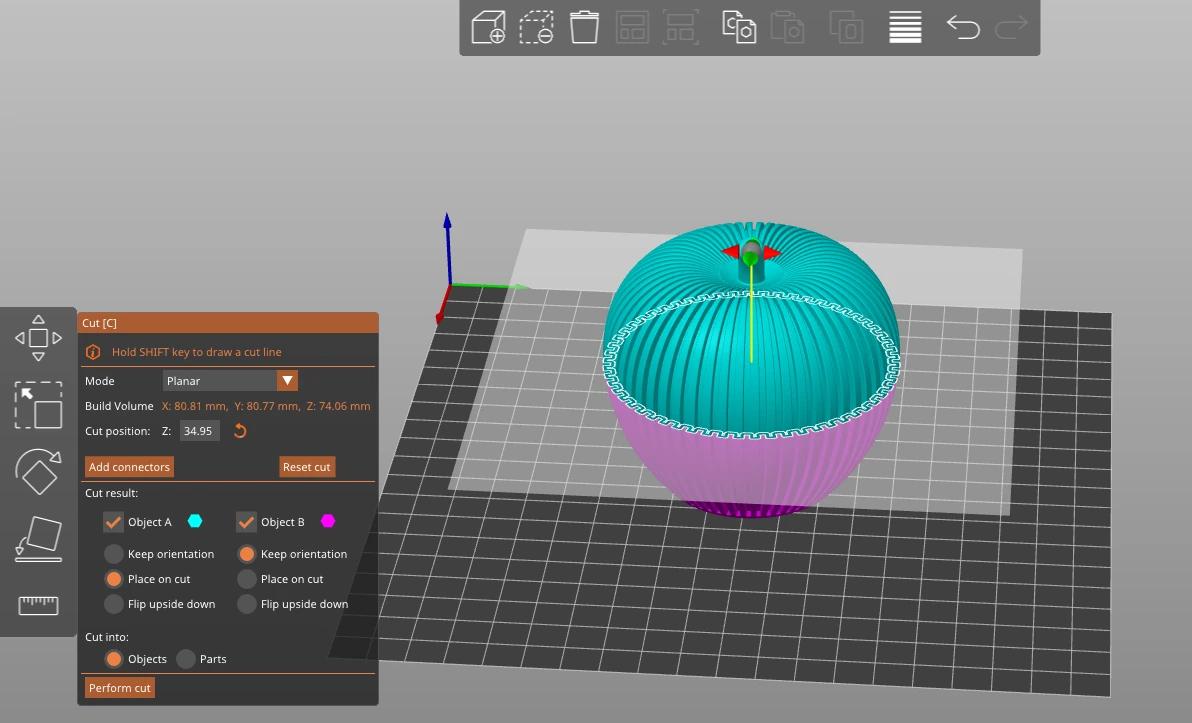
PrusaSlicer, Bambu Studio, and OrcaSlicer all include a cut tool that slices a model into separate printable parts. Bambu Studio and Orca are particularly good at splitting models cleanly - makers who work in heavier CAD tools often come back to the slicer just for this. Need a 32mm miniature at 54mm for a boss monster? That's a two-second scale operation, not an editing project.
If the model imports at a bizarre size, that's usually a units issue rather than a broken file - STL stores no unit information, so a model designed in inches opens tiny. Scale it up in the slicer (2540% converts inches to millimeters) and move on.
When the slicer isn't enough: the moment you need to change the shape - not just size, orientation, or how it's divided - you need a real editor.
Easy shape edits: Tinkercad
Tinkercad is a free, browser-based 3D modeling tool from Autodesk, and it's the gentlest possible entry into STL editing. No installation, minimal learning curve - it's the standard first tool in schools and beginner maker communities for a reason.
The workflow is built on a simple idea: everything is a shape, and any shape can be a solid or a hole. Import your STL, then add and subtract shapes to change it:
- Add text: drop a text shape onto the model, group them - embossed name done. Turn the text shape into a "hole" instead, and it's engraved.
- Punch a hole: place a cylinder where you need the opening, mark it as a hole, group.
- Combine models: import two STLs, position them, group into one.
- Remove a feature: cover the unwanted detail with a shape set as a hole, group, and it's gone.
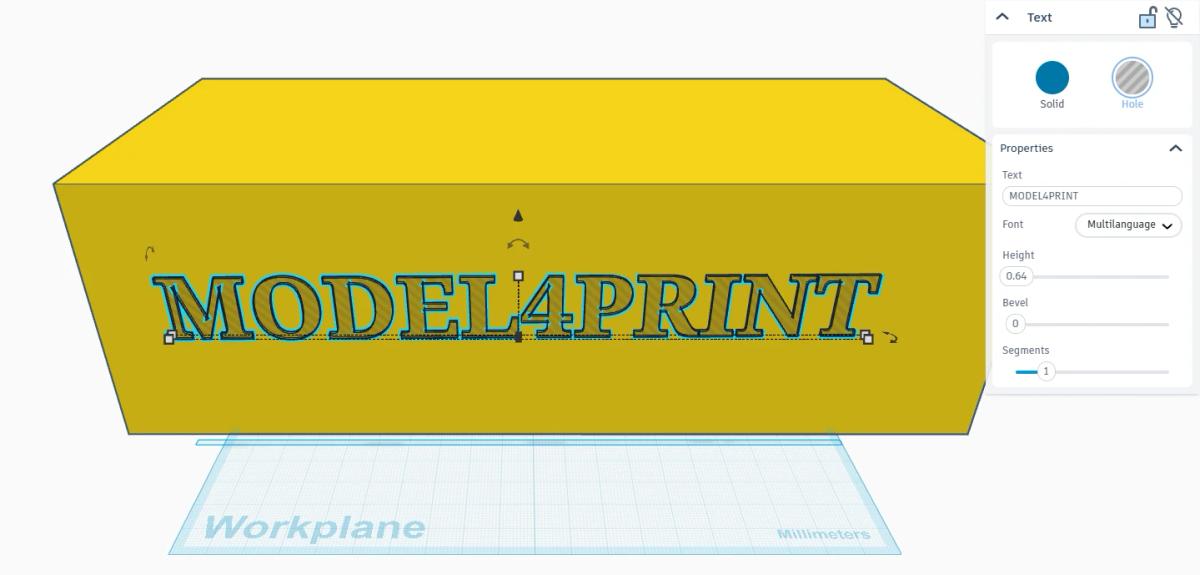
It sounds almost too simple, but that hole/solid logic handles a surprising share of real-world edits.
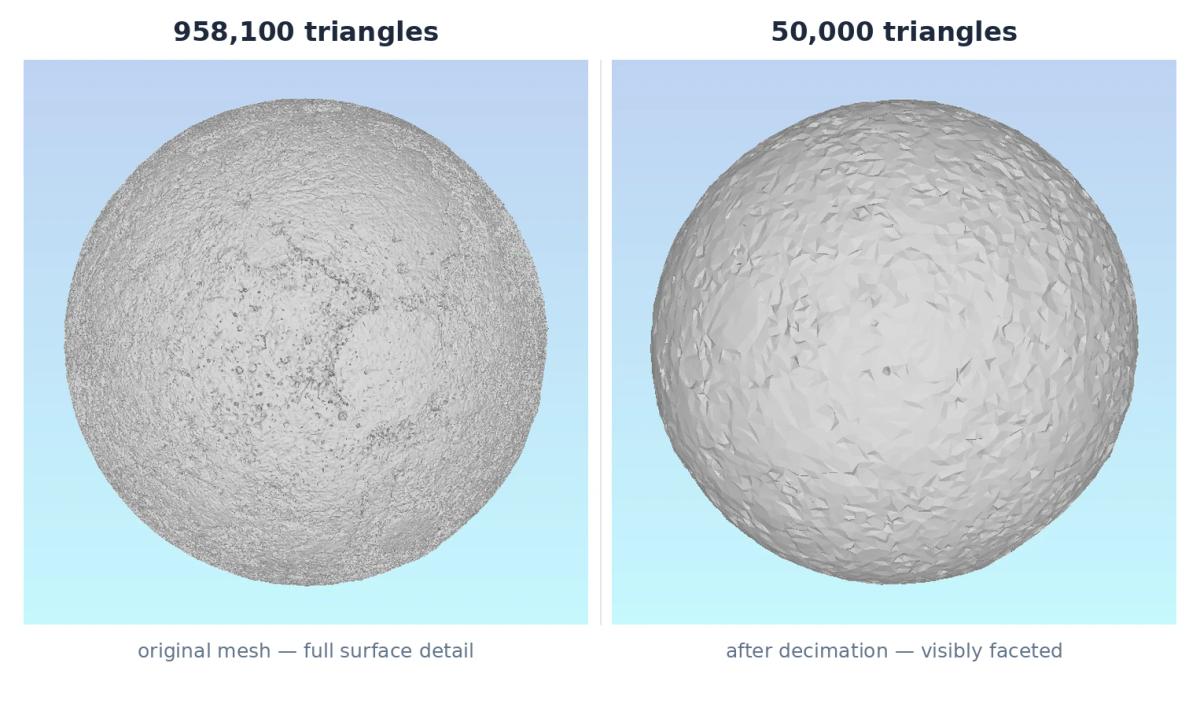
The catch - the 300,000 triangle limit. Tinkercad refuses to import meshes above 300,000 triangles, and detailed models (miniatures especially) blow past that easily. If you hit the "shape is too complex" error, the fix is to reduce the triangle count first: open the model in MeshLab and run Filters → Remeshing, simplification and construction → Quadratic Edge Collapse Decimation, or use the decimate tools in Meshmixer or Blender, then re-export and import the lighter file. Done with reasonable settings, the visual difference on a print is negligible.
Heavier mesh work: Blender and meshmixer
When the edit is organic - reshaping a figure's pose, smoothing scan data, sculpting details - you're in true mesh-editing territory.
Blender is the free powerhouse here. It edits meshes at any level: individual vertices, sculpting brushes, boolean operations, and a Decimate modifier for taming heavy files. The honest trade-off is the learning curve - Blender is a full 3D suite, and the first hours are disorienting. It's worth learning if you'll edit models regularly; it's overkill for one engraved name.
Meshmixer (Autodesk, free) sits between Tinkercad and Blender: designed specifically for mesh work on 3D prints, with tools for cutting, hollowing, smoothing, and its well-known color-coded error inspection. One caveat - Autodesk no longer actively develops it, so while it remains a community favorite, don't expect updates.
Precise edits: Convert the mesh to a solid
For functional parts - a bracket that must clear 5.2mm, a mount with exact hole spacing - mesh editing is the wrong tool. Nudging triangles won't give you dimensional precision. Instead, convert the mesh into a solid body and edit it like a normal CAD model.
Fusion 360 (free for personal use) handles this via Insert → Insert Mesh, then its mesh-to-solid conversion. Once converted, you can sketch on faces, extrude, cut, and dimension exactly as with native CAD geometry. A common real-world pattern: convert the mesh, redesign just the section you need, then cut the original model in your slicer and combine your new part with the untouched rest.
FreeCAD offers a fully free and open-source route to the same result through its mesh workspace.
Fair warning: conversion works best on simpler, geometric models. A million-triangle dragon converted to a solid will choke most CAD software - that's Blender territory. Convert-to-solid shines for functional parts, which tend to be geometrically simple anyway.
A safe editing workflow
Whatever tool you land on, the order of operations is the same, and it prevents most self-inflicted disasters:
- Keep the original. Work on a copy - always.
- Inspect before editing. Load the file and look for existing problems.
- Repair first. Editing an already-broken mesh compounds the damage. Let your slicer's auto-repair or a repair tool clean it up before you touch anything.
- Make the edit.
- Check printability. After editing - especially boolean operations, which are notorious for leaving non-manifold geometry behind - verify the mesh is still watertight. Importing into your slicer and watching for repair warnings is a decent quick check.
- Export clean. Save as binary STL (or 3MF), and keep your editable working file too if the tool has a native format.
Frequently asked questions
Can you edit an STL file?
Yes. Simple changes like scaling and cutting happen right in your slicer; shape edits like adding text or holes are easy in free tools like Tinkercad; and precise dimensional changes work best by converting the mesh to a solid in Fusion 360 or FreeCAD.What is the best free software to edit STL files?
It depends on the edit. Tinkercad is the easiest for basic shape changes and text. Blender is the most powerful free option for sculpting and heavy mesh editing. FreeCAD and Fusion 360 (free for personal use) handle precise, dimension-driven edits by converting the mesh to a solid.Can I edit an STL file without any software?
Almost - if all you need is scaling, rotating, mirroring, or cutting a model into parts, your slicer does it, and you already have one. Actual shape changes require an editing tool, though free browser-based options like Tinkercad mean there's still nothing to install.Why does Tinkercad say my STL is too complex?
Tinkercad limits imported meshes to 300,000 triangles, and detailed models often exceed that. Reduce the triangle count first with the decimation tools in MeshLab, Meshmixer, or Blender, then import the lighter file - a moderate reduction is rarely visible on the printed part.Is it legal to edit STL files I downloaded?
For personal use - printing a modified version for yourself - editing is generally fine under most model licenses. Sharing or selling a modified version is a different matter: check the specific license the model was published under, as many allow personal modification but prohibit redistribution.How do I edit an STL file with exact measurements?
Convert it to a solid first. Import the mesh into Fusion 360 or FreeCAD, run mesh-to-solid conversion, and you can then sketch, extrude, and dimension with normal CAD precision. Direct mesh editing can't reliably hit exact measurements.
About the author
Written by
Ethan MillerI’m a 3D printing specialist with a background in mechanical design and hands-on experience with FDM 3D printing. I focus on filament selection, slicer settings, print optimization, and troubleshooting common printing issues. I enjoy testing different materials and printing techniques and sharing practical guides that help makers get more consistent and reliable results from their printers.