How to scale STL files for tabletop: 28mm, 32mm, and heroic scale explained
· 6 min read
You bought a gorgeous miniature STL, printed it, and it towers over the rest of your party like it wandered in from a different game. Scale mismatches are the most common frustration in printing tabletop miniatures - and the most fixable. This guide covers what miniature scales actually mean, how to convert between them with simple math, and the one method that works even when the numbers lie.
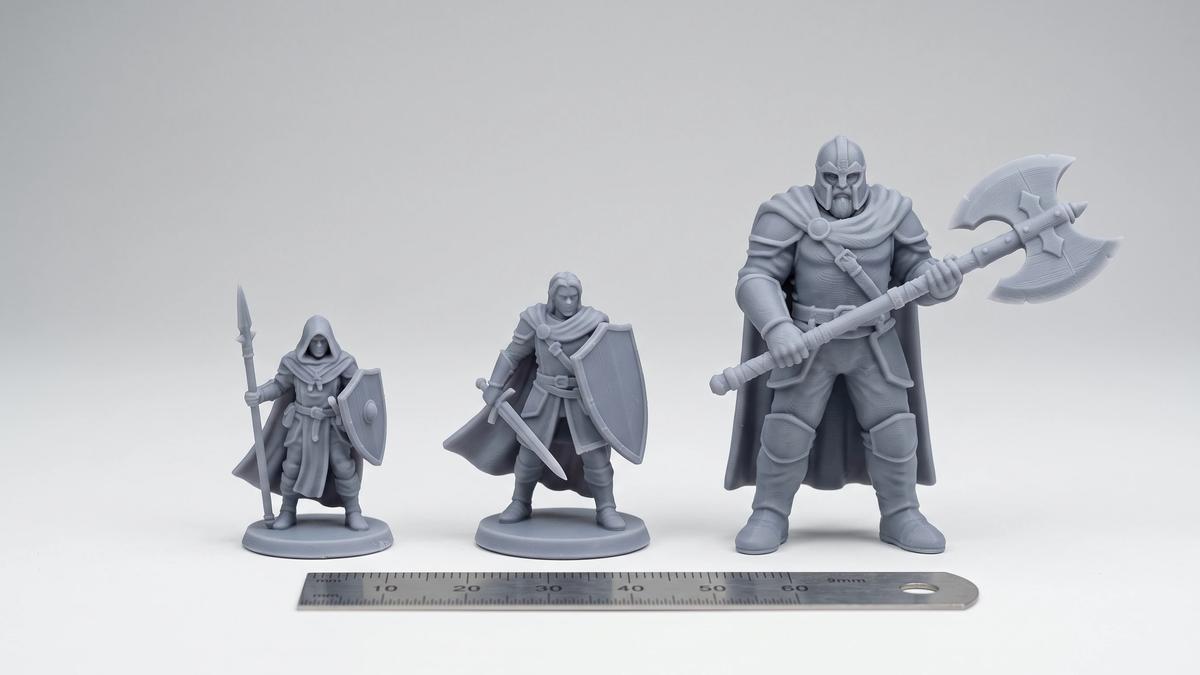
Tabletop scales like 28mm and 32mm describe the height of a standard human figure - roughly a six-foot person shrunk down to miniature form. By convention, that height is usually measured from the feet (or the top of the base) to the figure's eyes, not the top of the head. So a "28mm" miniature is one where a normal human stands 28mm tall to eye level.
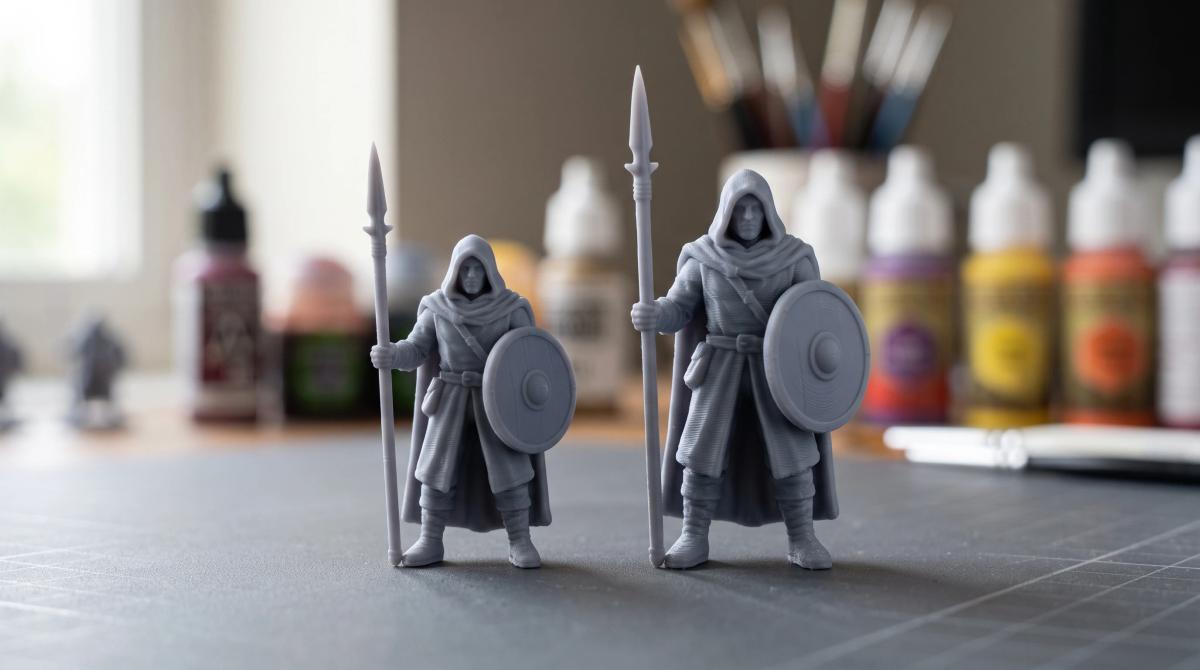
The common scales you'll run into:
| Scale | Typical use | Notes |
|---|---|---|
| 15mm | Historical wargames, mass battles | Roughly 1:100; tiny, prints best on resin |
| 25mm | Older miniatures lines | Mostly legacy; predecessor of 28mm |
| 28mm | Classic D&D and wargaming standard | The long-time default for RPGs |
| 32mm | Modern RPG and skirmish miniatures | Increasingly the default for new sculpts |
| 28mm/32mm heroic | Modern wargame aesthetics | Same nominal height, exaggerated proportions |
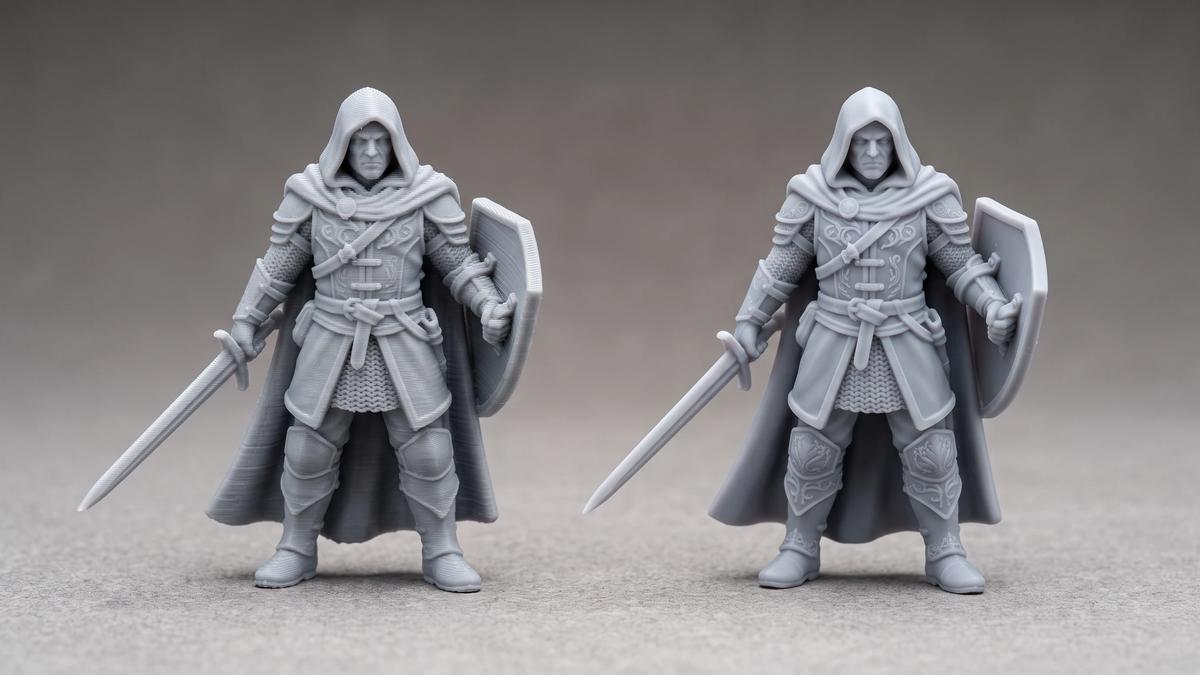
"Heroic" deserves a special note. Heroic scale keeps the nominal height but enhances proportions - bigger head, hands, and details - for a chunkier figure that reads better on the table. A heroic sculpt can stretch the eye-height measurement to around 34mm. This is why a "28mm heroic" model can look dramatically bulkier than a "true-scale 28mm" one at the same official size.
Here's what makes miniature scaling genuinely confusing: those labels are conventions, not specifications. One sculptor measures to the eyes, another to the top of the head, and a third uses "32mm" to mean "compatible with a certain game system" rather than any literal height. Two files both labeled 32mm can print at visibly different sizes.
This is why you should treat the advertised scale as a starting point, not a guarantee - and why the reference method later in this guide beats blind trust in labels every time.
The good news: the actual conversion is one division. Target scale ÷ current scale = your scaling factor.
Want a 28mm model to match your 32mm collection? 32 ÷ 28 ≈ 1.14, so scale it to 114% in your slicer. Quick reference:
One rule matters here: always scale all three axes uniformly. Every slicer scales X, Y, and Z together by default - leave it that way. Stretching only the height turns your dwarf into a strangely elongated elf.
No editing software needed - scaling is a core slicer function:
If a model imports at an absurd size - a dragon the size of a thumbnail or a house-sized goblin - that's almost always a units problem, not a scale problem. STL files carry no unit information, so a model designed in inches opens tiny in a millimeter-based slicer; scaling to 2540% fixes it.
Because scale labels are unreliable, the most dependable workflow skips the labels entirely and works from physical reality:
A variation on the same idea: import a miniature you know is correctly sized into the slicer alongside the new model, and scale the newcomer until they look right side by side. Calibrated reference models made for exactly this purpose exist in the community - search for miniature scale reference rulers - and free online scale calculators handle the division if mental math isn't your idea of fun.
This method solves the mixed-designers problem in one move: when your collection combines files from five different creators with five different ideas of "32mm," the physical reference is the single source of truth.
Scaling isn't infinitely free - the model's geometry was designed with a physical size in mind.
The comfortable zone is roughly ±10–15%. Pre-supported miniatures in particular can typically move about 10% up or down and still print cleanly, because the supports scale along with the model and stay functional. Terrain and scenery are even more forgiving - pieces designed around a nominal scale usually tolerate a step up or down without tolerance issues.
Scaling down is riskier than scaling up. Shrink a miniature far enough and thin details - sword blades, spear shafts, fingers - drop below what your printer can physically reproduce, or become too fragile to survive handling. FDM printers hit this wall much sooner than resin printers, which is why serious miniature-scale work below 28mm is resin territory.
Big scale jumps deserve a test print. Going from 32mm to a 75mm display piece (or down to 15mm for mass battles) technically works in the slicer, but print one model and inspect it before committing to an army. Wall thicknesses, support contact points, and detail sharpness all behave differently at the new size.
For changes beyond what scaling can handle - thickening a fragile weapon, removing a detail that won't survive the new size - you're in editing territory.
A perfectly scaled party looks wrong next to mismatched scenery. The rule of thumb: scale terrain to match your miniatures, not the other way around. Doors are the classic reference - for 32mm figures, a standard door should stand roughly 35–40mm tall. If your minis can't plausibly walk through their own dungeon doorways, immersion breaks fast.
When mixing 28mm and 32mm figures on one table - some GMs print rank-and-file enemies smaller and player characters larger - keep the terrain consistent with whichever scale dominates, and test-fit a figure against a doorway or chair before printing a whole set.
Written by
Ryan CarterI’m a 3D printing and miniature painting specialist with a background in digital modeling and tabletop gaming. I focus on 3D-printed miniatures, resin and FDM printing, model preparation, supports, priming, painting, and finishing techniques. I enjoy experimenting with different workflows and helping makers turn digital models into detailed, tabletop-ready miniatures.