How to paint 3D printed miniatures: from raw print to table-ready
· 7 min read
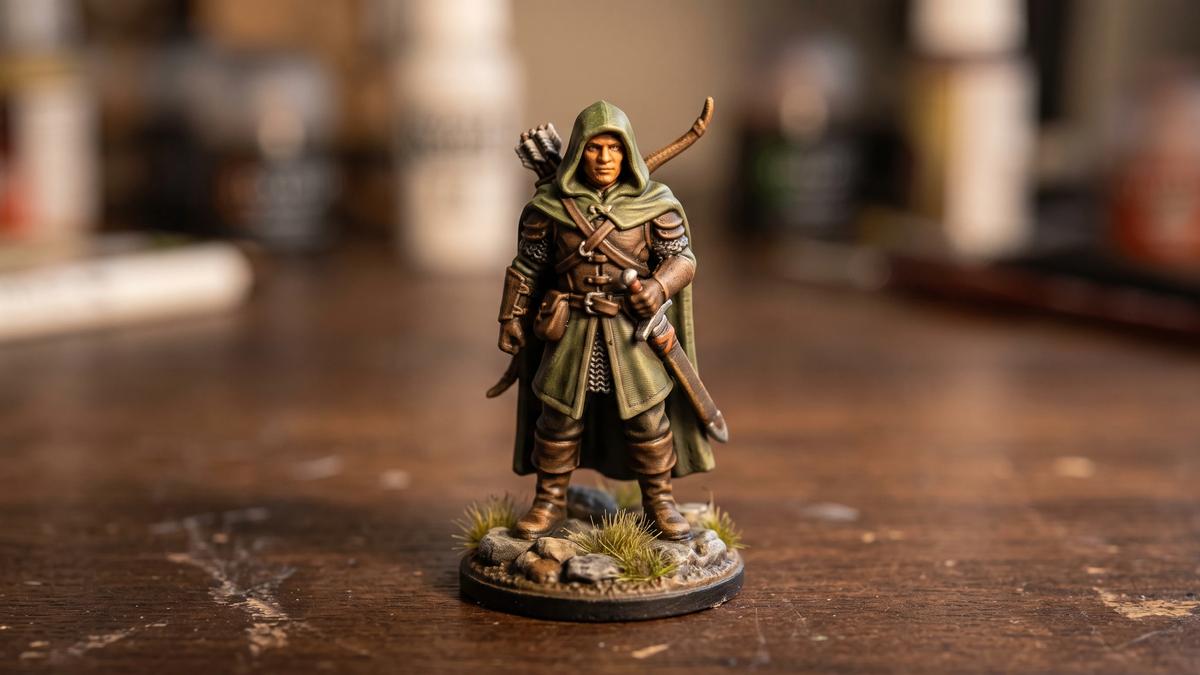
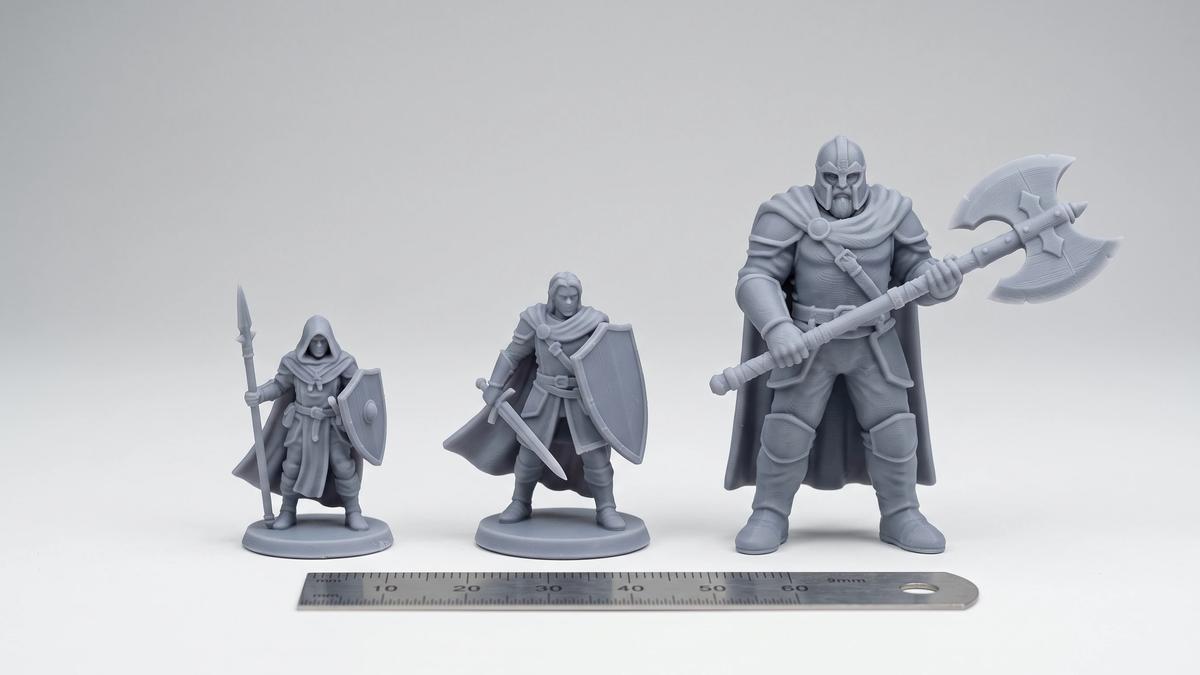
A freshly printed miniature is a promise, not a finished piece - gray plastic doesn't scare players at the table. The good news: painting 3D printed minis is more about patience and preparation than artistic talent, and the core workflow that transforms a print into something table-proud takes about 30 minutes per figure once you know it. This guide walks the full path: cleanup, washing, priming, and the three-technique painting sequence that does most of the visual heavy lifting.
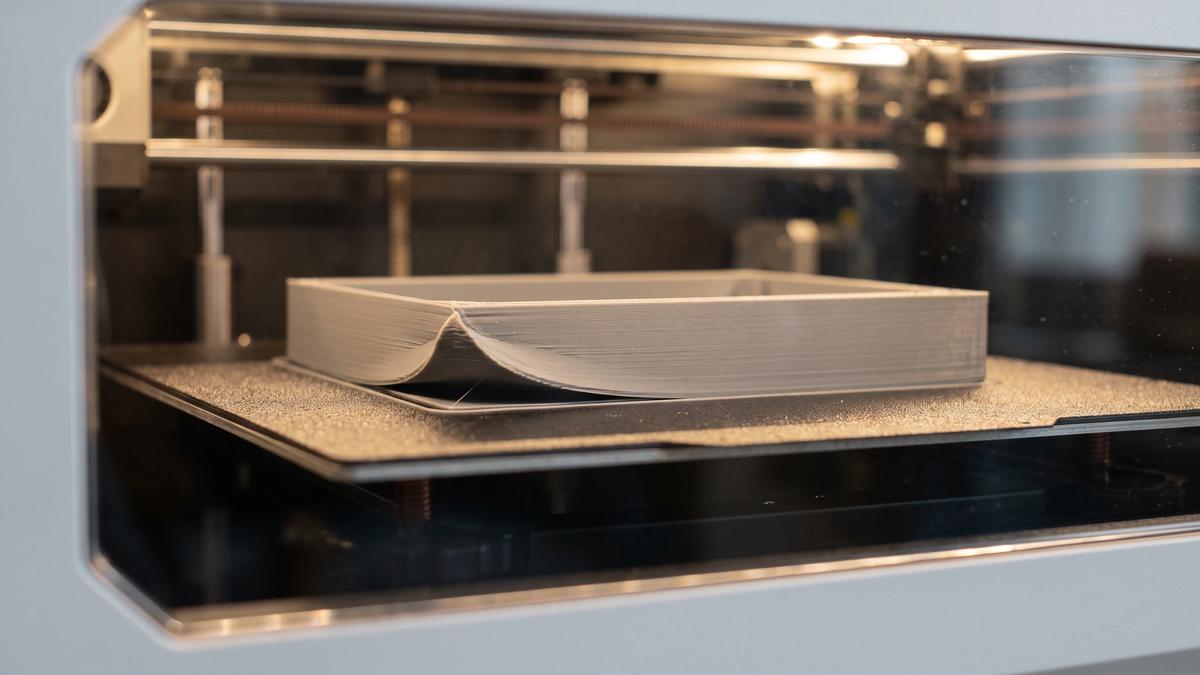
If you've painted plastic kit miniatures before, here's the headline: the painting itself is virtually identical - only the preparation differs. A 3D print needs its own cleanup and surface prep, and FDM and resin prints need different prep. Once primed, a printed mini takes paint exactly like any boxed miniature.
Two print-specific realities shape the prep:
Everything below covers both, with the differences flagged where they matter.
Start with the physical leftovers of printing.
Remove supports carefully. Clip them away in small pieces with flush cutters rather than tearing - the classic casualties of impatient support removal are sword blades, spear tips, and fingers. Resin prints demand extra gentleness: cured resin is more brittle than FDM plastic, and thin parts snap where filament would bend. (Printed the mini yourself and want fewer support scars in the first place? That's an orientation problem).
Trim the nubs. Where supports touched the model, small bumps remain. A hobby knife takes them off cleanly - slice away from the detail, not into it.
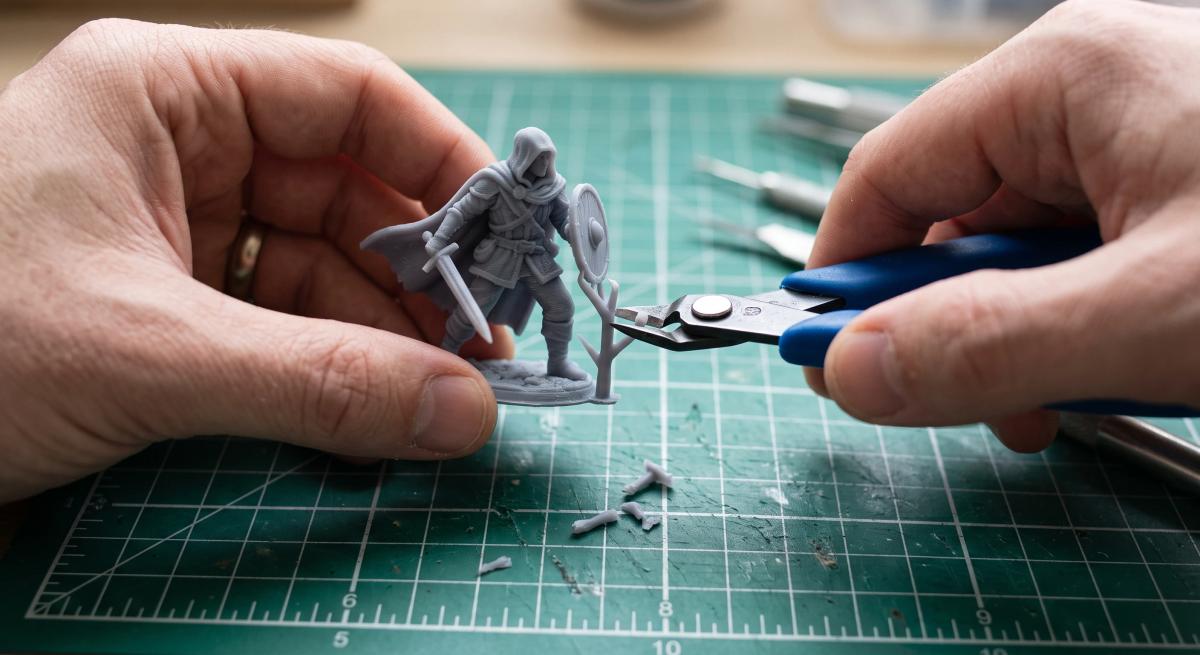
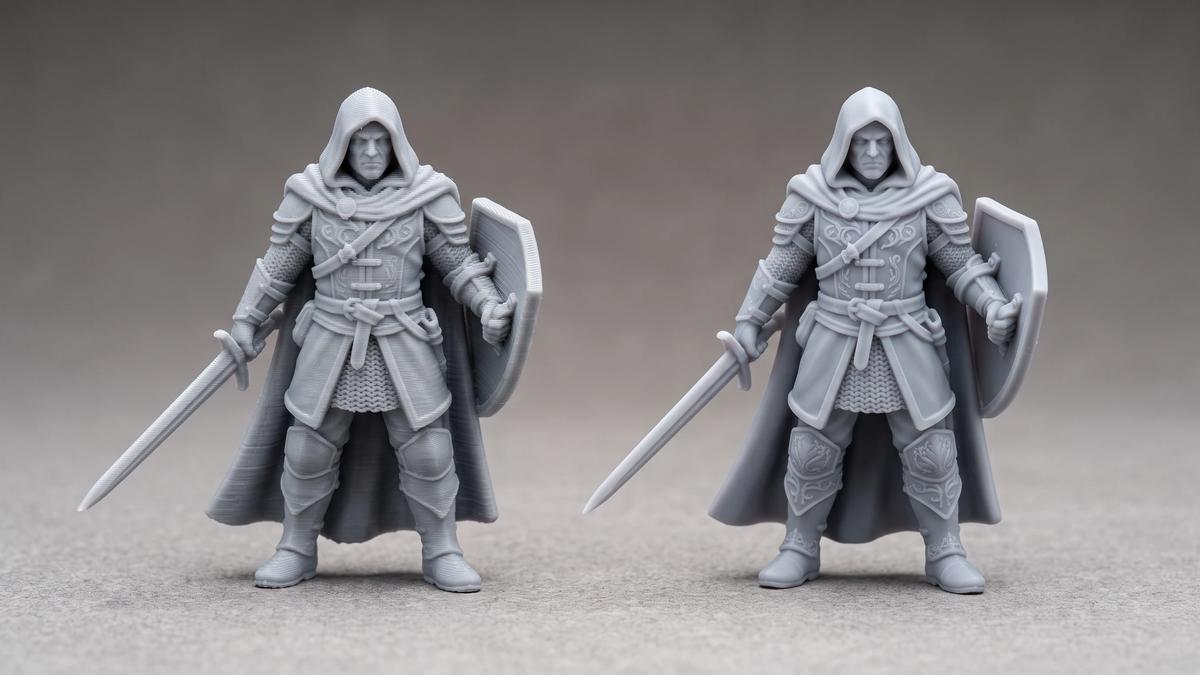
Sand where needed. For FDM prints with visible layer lines on broad surfaces, start with a coarser grit and work upward to finer paper for a smooth result. Focus on flat, open areas - cloaks, shields, bases. Skip faces and fine texture: sandpaper erases sculpted detail faster than you'd think. Resin prints usually need little to no sanding beyond support-scar touch-ups.
The step everyone skips, and the reason paint later peels: wash before priming. Sanding dust, skin oils from handling, and printing residue all sabotage adhesion.
If this guide could only teach one lesson, it might be this: primer is not optional. Bare plastic and resin are too slick for acrylics to grip - unprimed paint chips at a touch, needs coat after coat for coverage, and buries detail in the process. Nearly every "my paint won't stick / looks patchy / rubbed off" story traces back to missing or bad priming.
Choosing a primer:
Applying it - thin coats win:
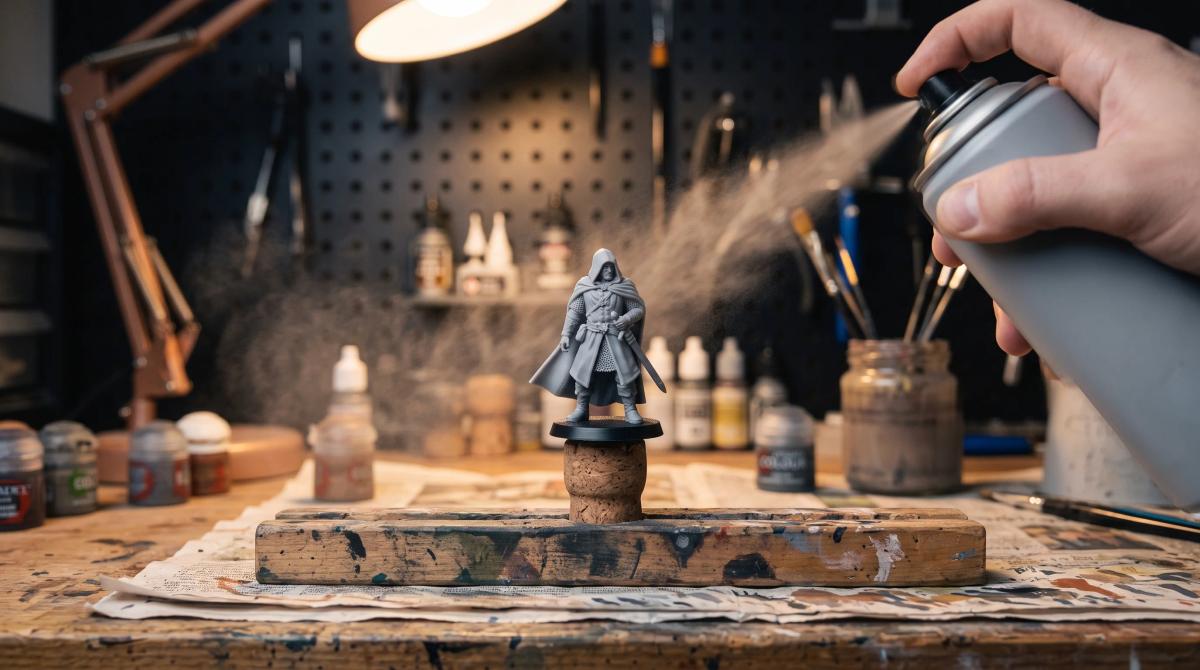
Bonus: a coat of uniform gray primer reveals every defect you missed - easier to fix now than after three layers of paint.
Now the color. Water-based acrylics are the standard for miniatures: fast-drying, water cleanup, and they layer without cracking. The hobby brands miniature painters standardize on - Vallejo, Citadel, Army Painter - cost more than craft paint but earn it with pigment density and consistency.
And here is the single most important painting technique, the one that separates clean minis from clumpy ones:
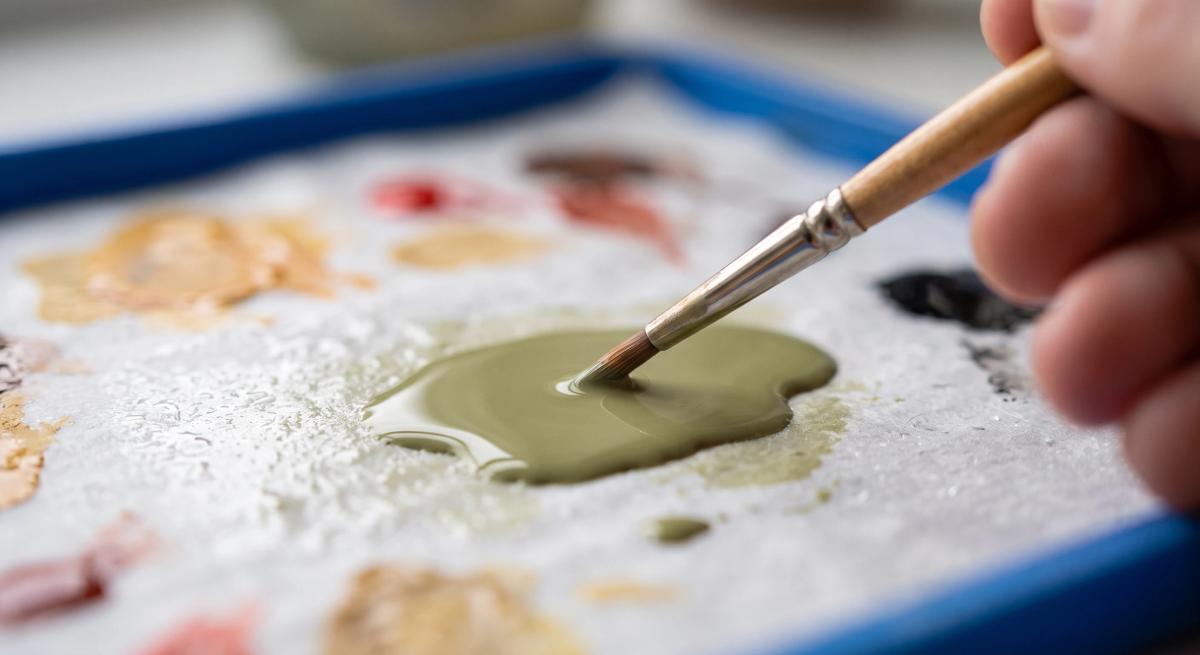
Always thin your paints. Straight-from-the-pot acrylic is too thick - it leaves brush strokes, clogs sculpted detail, and dries into ridges. Add a small drop of water on a palette and mix until the paint flows like milk. Then apply two thin coats instead of one thick one. Thin coats dry fast, stay smooth, and build to rich, solid color; a thick coat obliterates the detail you paid for.
Work large-to-small: block in the biggest areas first (cloak, armor, skin), tidy the edges as you go, and don't chase perfection at this stage - the next two steps forgive a lot.
A wash is heavily diluted, dark paint (or a ready-made product - dark shade washes are a staple of every hobby paint range) that you brush generously over a base-coated area. It flows into every recess, crevice, and panel line, settling into shadows the way real shadows fall - armor joints darken, muscle lines define themselves, faces gain depth. Zero skill required: apply, let it settle, wipe excess off the raised surfaces with a damp brush or cloth, and let it dry fully.
The transformation-per-minute ratio of a wash is unmatched in this hobby. A flat base-coated figure looks like a toy; the same figure washed looks painted.
Drybrushing is the wash's mirror twin - where the wash darkens recesses, drybrushing brightens edges:
Textures pop instantly - chainmail, fur, rocky bases, weathered metal are drybrushing's home turf. It's also the safe way to paint metallic details without staining surrounding work.
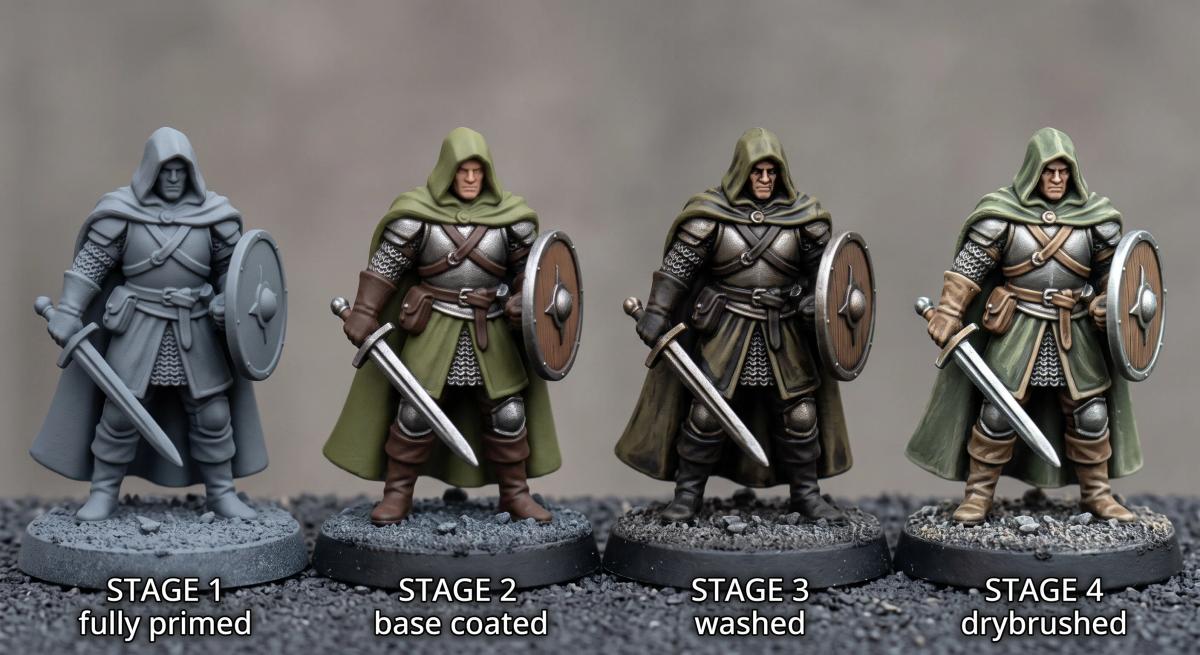
Base coat → wash → drybrush is the complete tabletop formula. Those three techniques, maybe 30 minutes per figure, produce minis that look dramatically better than the sum of the effort. Everything past this point is refinement.
For characters that deserve extra attention:
The finish line: a coat of varnish seals everything against dust, scratches, and finger grease - non-negotiable for gaming minis that get handled every session. Matte varnish is the default for a natural look; gloss suits gems and wet effects. Like everything else in this hobby: thin, even coats.
No. An airbrush accelerates base coats and enables silky gradients, but it is genuinely optional - brushes, thinned paint, and the wash-and-drybrush toolkit produce professional-looking results, and plenty of award-level painters work with brushes alone. Master brush control first; decide about an airbrush after fifty minis, not before the first one.
Written by
Ryan CarterI’m a 3D printing and miniature painting specialist with a background in digital modeling and tabletop gaming. I focus on 3D-printed miniatures, resin and FDM printing, model preparation, supports, priming, painting, and finishing techniques. I enjoy experimenting with different workflows and helping makers turn digital models into detailed, tabletop-ready miniatures.